Table of Contents
Transforming your home into a fresh, inviting space doesn’t always mean spending a fortune on a complete overhaul. Small touches, like clearing away the unsightly wall sticker residues, sometimes breathe new life into your surroundings. Knowing how to remove wallpaper residue properly is essential to preserving your interiors’ beauty without sacrificing their structural soundness.
Often overlooked, these lingering adhesive leftovers can detract from a room’s appearance. Beyond looking unkempt, they pose a risk to your wall’s paint and surface. Sticky residues can attract dust and dirt, leading to discoloration and surface deterioration if not promptly and correctly removed.
Why Removing Wall Sticker Residue is Important
If left unchecked, sticker residues can significantly detract from your living space’s cleanliness and appeal. Over time, these residues collect dirt and dust, worsening their visibility and making them even more challenging to clean. Furthermore, they can lead to stubborn stains that require repainting, increasing maintenance costs. Understanding the implications of not addressing these residues underscores the importance of their timely removal.
Tools You Need for a Smooth Removal Process
Embarking on sticker residue removal requires the correct set of tools. Essential items include painter’s tape, which protects adjacent areas unaffected by the residue. A plastic scraper is crucial for carefully lifting the sticky remnants without risking scratches. Have soft, clean cloths ready to wipe away residue particles for cleaning gently. Adhesive removers or mild soaps can tackle persistent residues, while warm water is a harmless solvent to facilitate the process.
A Step-by-Step Guide to Residue Removal
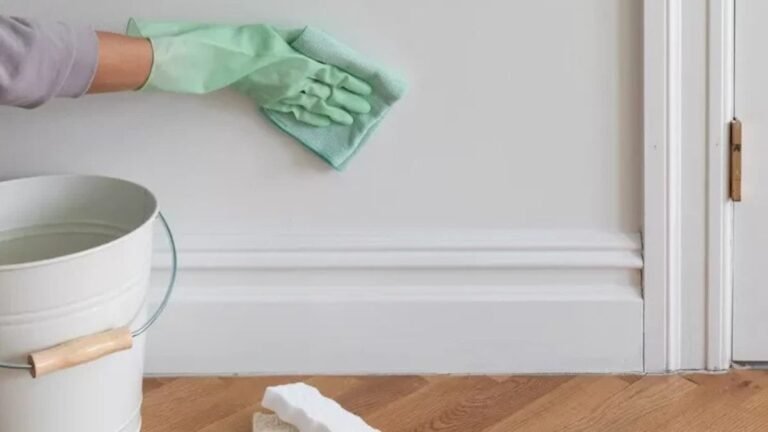
- Begin by softening the residue with a cloth dampened in warm water, letting it linger to mellow the adhesive.
- Use a plastic scraper cautiously, applying gentle pressure to lift the softened residue edges without harming the underlying surface.
- For any stubborn, residual patches, apply a gentle concentration of adhesive remover or a mixture of mild soap and water.
- Finish by wiping the area with a clean, damp cloth, ensuring no cleansers or residue fragments remain.
Selecting the right tools with non-metallic edges prevents unintended damage during removal, ensuring your walls stay intact.
Common Mistakes to Avoid
While residue removal might seem straightforward, common pitfalls can complicate it. Robust and abrasive cleaning agents can erode the paint or cause discoloration. Sharp tools are also a no-go, as they create deep scratches or gouges that are costly to repair. Adhering to gentle, proven approaches, as outlined in this guide, will help maintain the integrity and beauty of your walls.
Environmentally Friendly Methods
For eco-conscious individuals, alternative methods utilizing everyday household items can effectively remove residues. For example, applying a paste from vinegar and baking soda offers a gentle yet powerful solution. These choices ensure that your walls are cleaned without contributing to environmental harm.
Tips on Protecting Your Walls in the Future
Preventative measures can significantly reduce the likelihood of facing difficult-to-remove sticker residues. When decorating, opt for removable wall decals known for their ease of application and removal. Additionally, treating walls with a primer before applying any adhesive-backed decor enables easier removals, protecting the paint and the wall beneath from undue stress.
DIY vs. Professional Services
While many effective solutions are available for DIY enthusiasts, there are scenarios where professional intervention might be beneficial. Professionals offer specialized tools and expertise to restore surfaces efficiently if the residue covers a vast area or has caused significant damage. Nevertheless, for typical household projects, the guidelines provided should cater to most needs.

